Hanging instructions for photo wallpapers
It's me, Ben from A.S. Create - the wallpaper studio of A.S. Création.
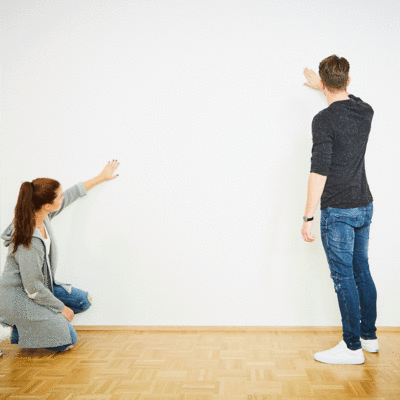
Today we show you how Felix and Luisa put our photo wallpaper, or digital print, on the wall.
Preparation:
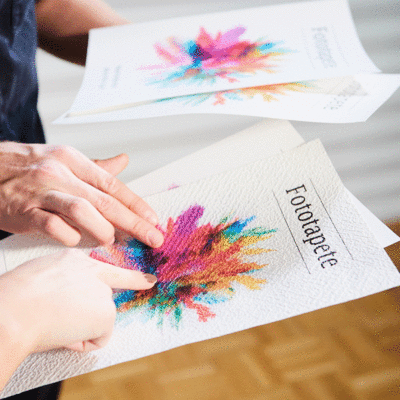
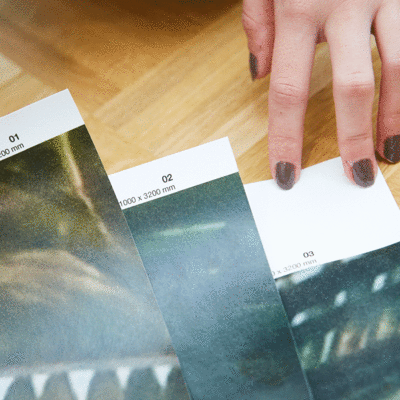
Our photo wallpapers are printed on a variety of different materials. We can send you free material samples in advance to help you choose a suitable backing for your photo wallpaper.
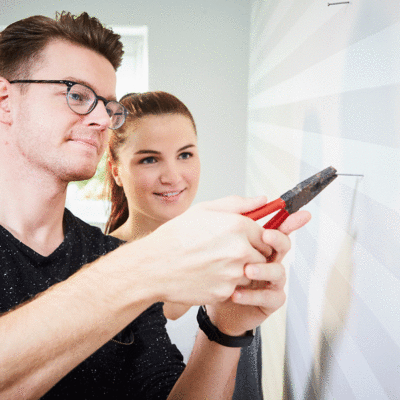
Before removing the old wallpaper and to ensure a smooth surface, remove light switch plates and plug socket boxes. NB: Switch off the power before you begin!
For a clean, even surface, any nails, tacks, etc. must also be removed from the wall.
Finally, lay out the numbered wallpaper strips and test the sample.
Wallpapering:
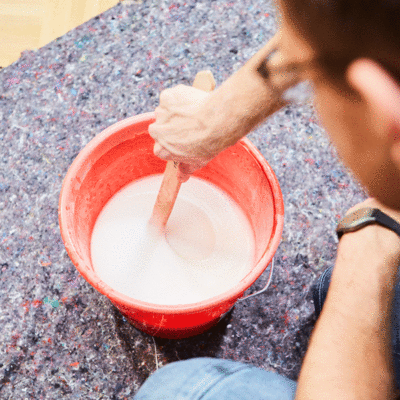
When wallpapering with high-quality non-woven photo wallpaper, use paste for non-woven wallpapers or universal paste.
Stir the paste in a 10-litre bucket with cold, clean water, stirring constantly.
Read the pack instructions to ensure lump-free paste.
Then apply sufficient paste to the wallpapering surface using a roller or brush.
Little tip:
Paste the edges and corners first with a paint brush or a pasting brush.
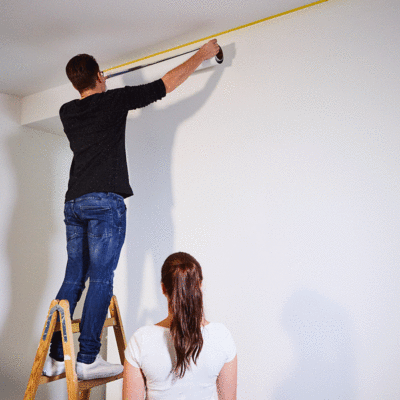
To apply the first strip of photo wallpaper evenly to the wall, mark the width before pasting. Then, using a pen or a spirit level,
draw a line.
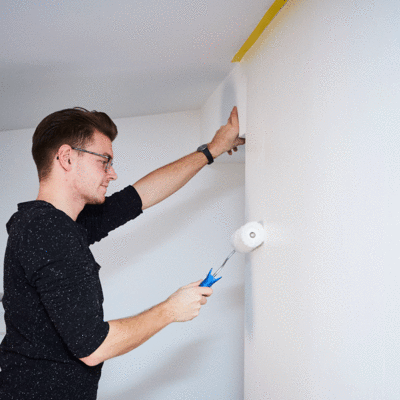
Now apply the strip of photo wallpaper vertically onto the wall and using a pressure roller, press until free of bubbles.
For a perfect fit it is important to hang the strips of photo wallpaper in order with the edges touching. Avoid overlaps or too great a distance between the seams.

Important:
Please check the wallpapering result after 3 strips and keep the inserts and samples.
Gluing costs for more than 3 strips will not be covered.
After preparation:
Your photo wallpaper is almost ready.
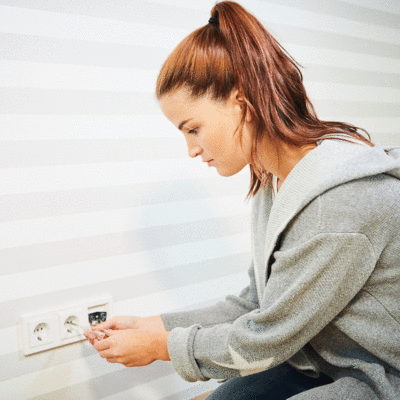
Hang the photo wallpaper over sockets and light switches, cut round and then replace the covers.
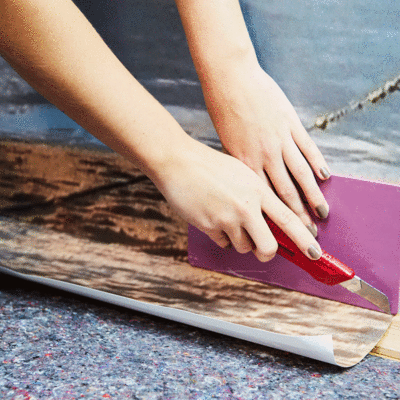
Use a cutter knife and a smoother or a tear-off ruler to cut out any protruding pieces of photo wallpaper. Make sure that the blades of your cutter knife are sharp.
For a perfect seam, or to rectify the seam, use a seam roller. Slide the seam flush with the joint and smooth it with a seam roller.